In my previous blog post I announced to publish a series of Azure File Sync. The first part is how to prepare and install Azure File Sync on your Windows caching servers.
My goal is to show you how this scenario could look like and also be used in a real-world scenario. I deployed three caching servers (each Windows Server 2016) in the following Azure DataCenters:
– East US
– West Europe
– Southeast Asia
Let’s assume the Azure Datacenter locations are datacenters of a client.
The Azure Storage Account where all data will be stored and its file share are located in West Europe and both are already in place.
Following Microsoft supported scenarios and guidelines, you should make yourself familiar with the documentation reflecting what the requirements are and what is (not) supported:
https://docs.microsoft.com/en-us/azure/storage/files/storage-sync-files-deployment-guide
Azure File Sync Setup
Let’s start with the setup of Azure File Sync in the Azure Portal.
Once you are logged in to the Azure Portal, you find Storage Sync Service in the services overview. There, you see all File Sync services that have been deployed but you are not able to deploy new workloads here. To do that you have to search by using the Azure Marketplace. It sounds a bit strange but this is the way how you have to deploy a new File Sync workload.
Click on +Create a resource and search for Azure File Sync.
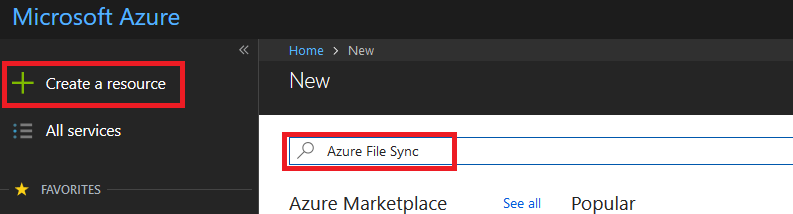
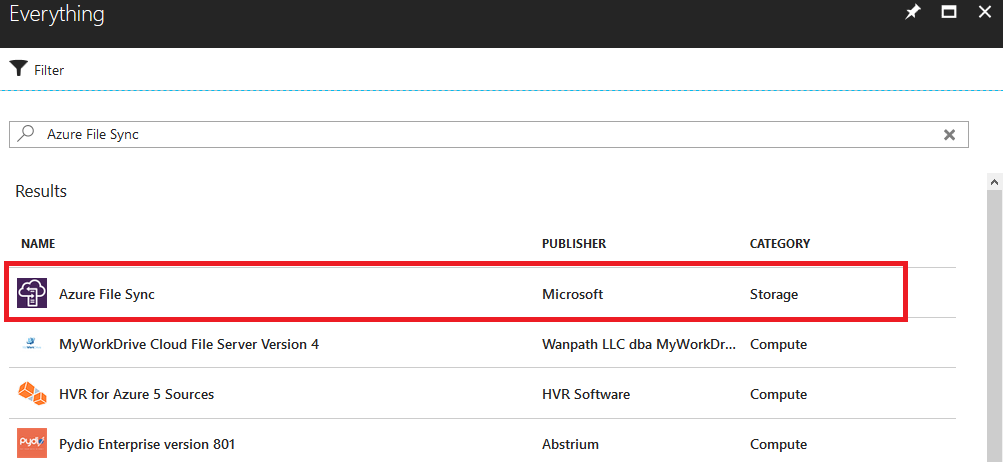
Now, you should see the Azure File Sync service at the top. Select this entry and proceed by clicking on create in the next step.
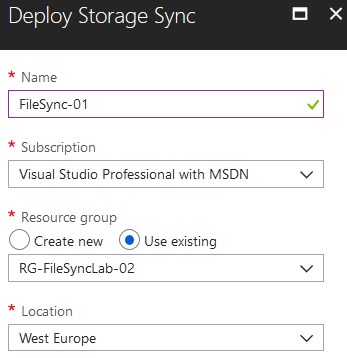
You will now be prompted to enter some information like the name of your Azure File Sync workload and where you would like to deploy this. This workload needs to be deployed in the same region where your storage account exists.
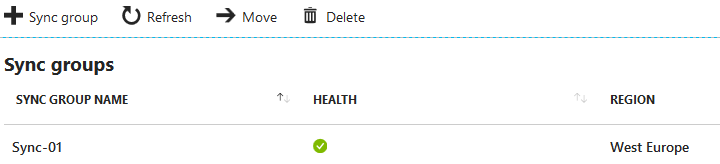
This new workload will be listed in the Storage Sync Services overview once it has been deployed successfully. Now, this workload needs to be configured and the caching servers have to be enrolled.

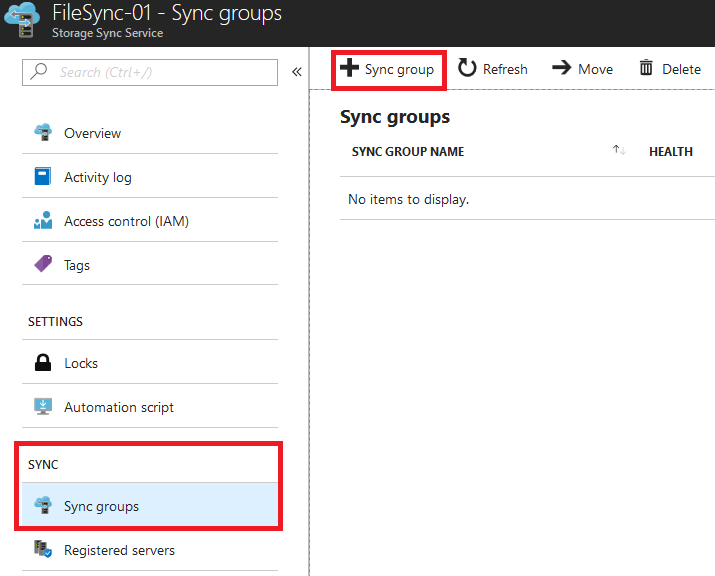
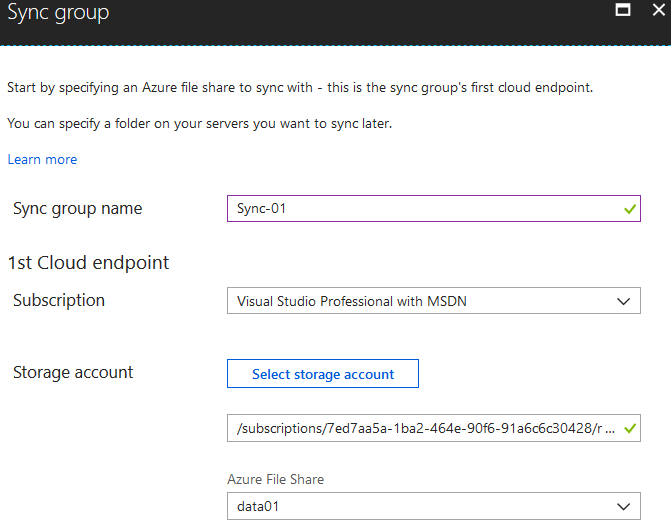
The very first step while configuring the Sync Service is to create a Sync Group. This Sync Group is associated with the Azure Storage Account and all caching servers.
The step after will be to enroll the caching servers. This part will be discussed in few minutes…
By clicking on +Sync group you are prompted to enter the Azure Storage Account details. Make sure you have already setup one Azure Storage Account within the same region and there is an existing file share.
Enter the details in the next step and click on Create.
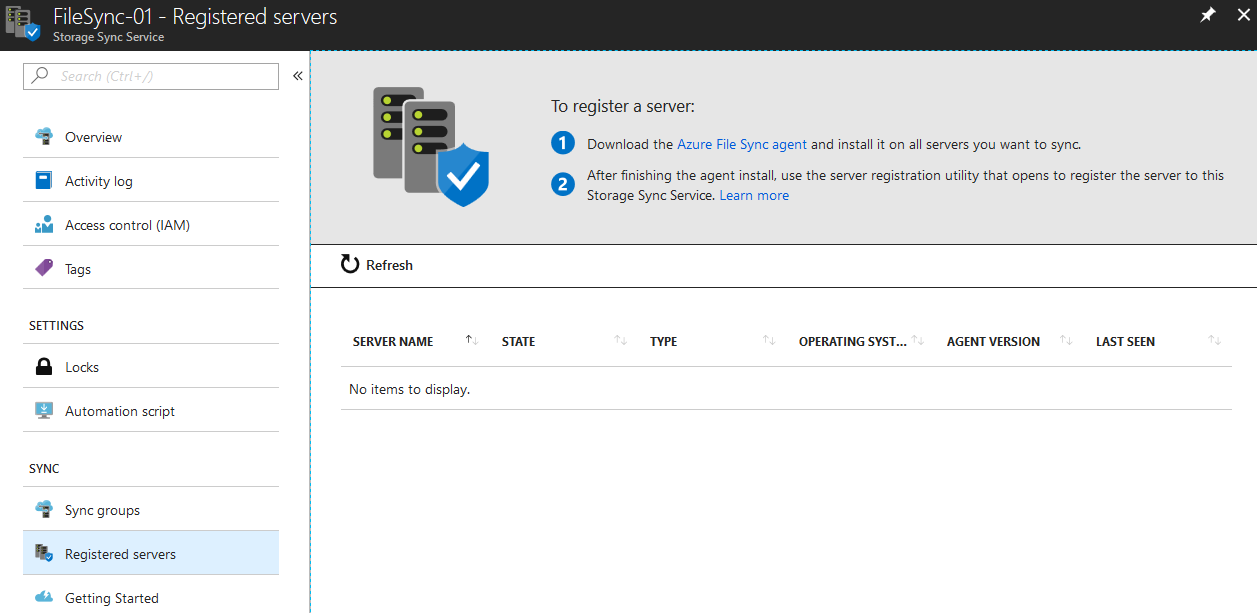
The first part has been finished. Now, the caching servers can be enrolled.
Enrolling caching servers means to download the Azure File Sync agent first before the servers can be registered.
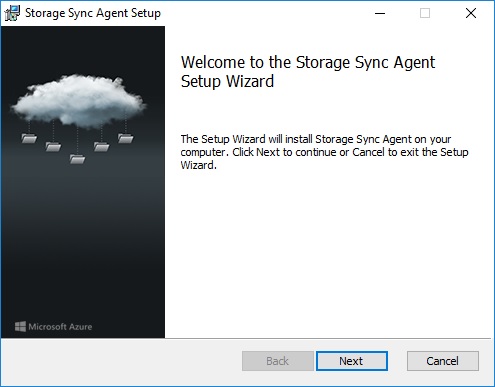
Azure File Sync Installation
Provide the agent to the caching servers and proceed with the installation.
Make sure you have already implemented the following prerequisites:
– PowerShell Module AzureRM is installed
– Server Manager: IE Enhanced Security Configuration set to Off
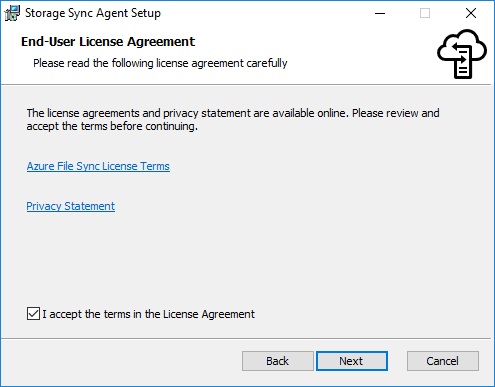
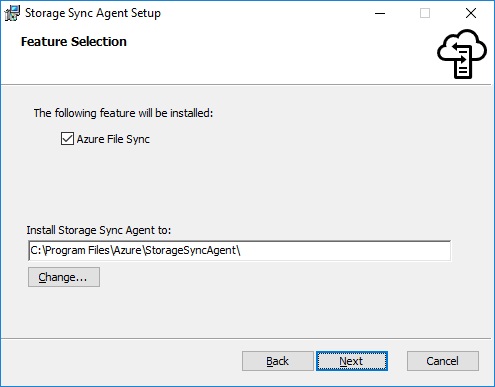
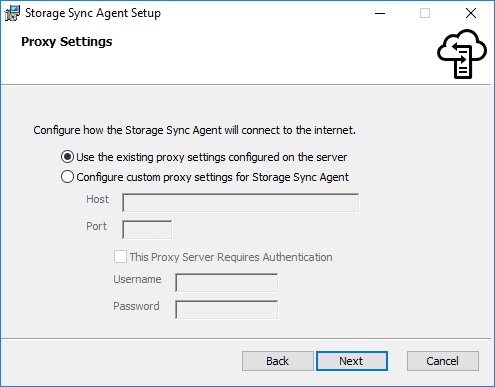
The installation steps are straight forward and I will not comment all installation steps.
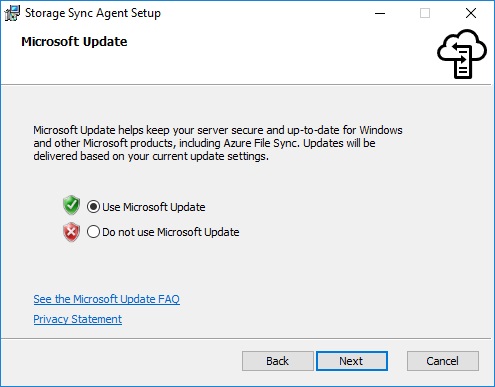
Check your WSUS for available updates in case you a central update management.
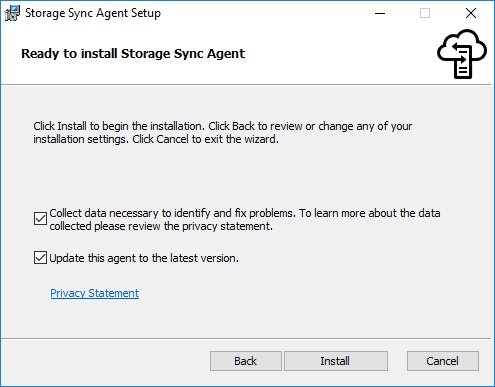
After the agent has been installed succesfully, the setup automaticaly continue with the configuration step of the Azure File Sync agent.
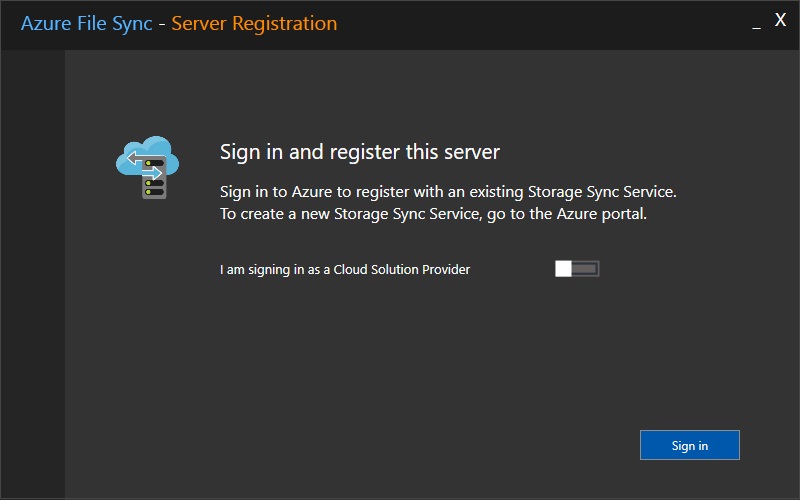
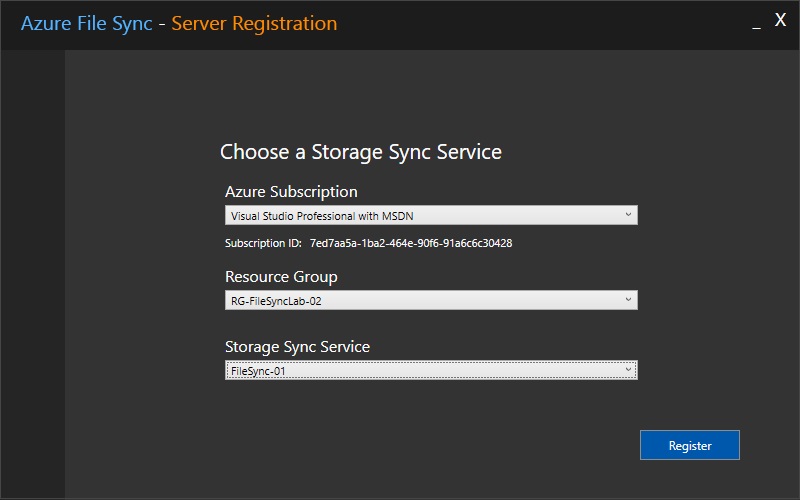
Select the exact information of the Storage Sync Service that had been provisioned in the first half of this blog post.
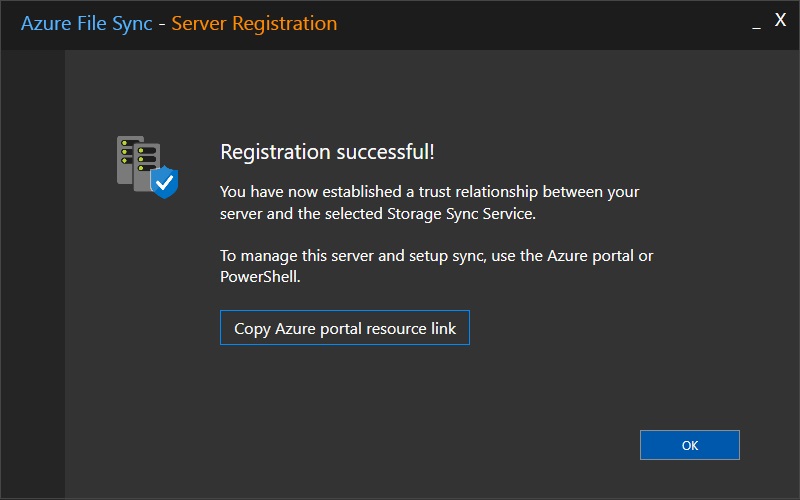
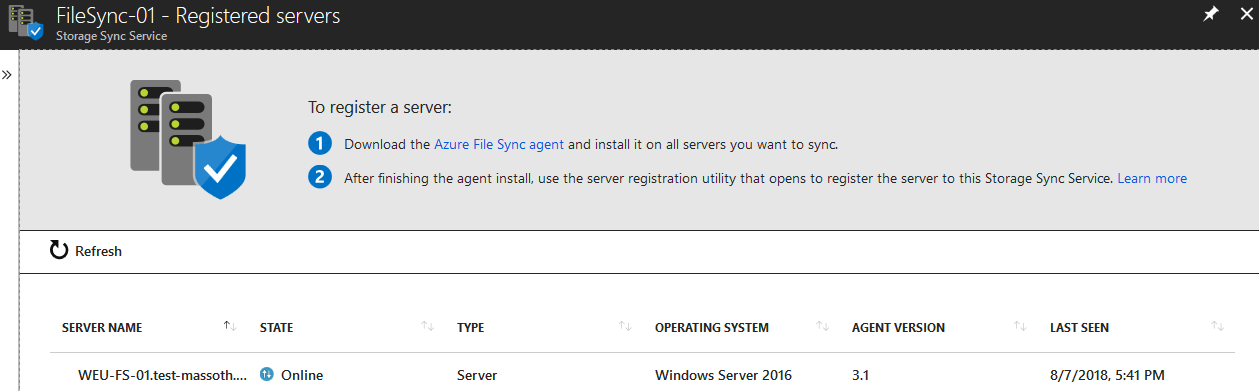
Here it is! After refreshing the Azure Portal, you find our fresh enrolled caching server.
That’s all so far with regards to the installation.
In the next upcoming blog post you will read more about configuring the Azure File Sync service.